Source: AGI Innovation Lab
You dream of becoming a cartoonist, but lack an important skill - drawing ability. Well, now generative AI tools can help you achieve those dreams. Here's one for you - AI Comic Factory, which can design comic book pages based on the description (Prompt) you provide. You can use it on the Hugging Face platform for free and it's open source.
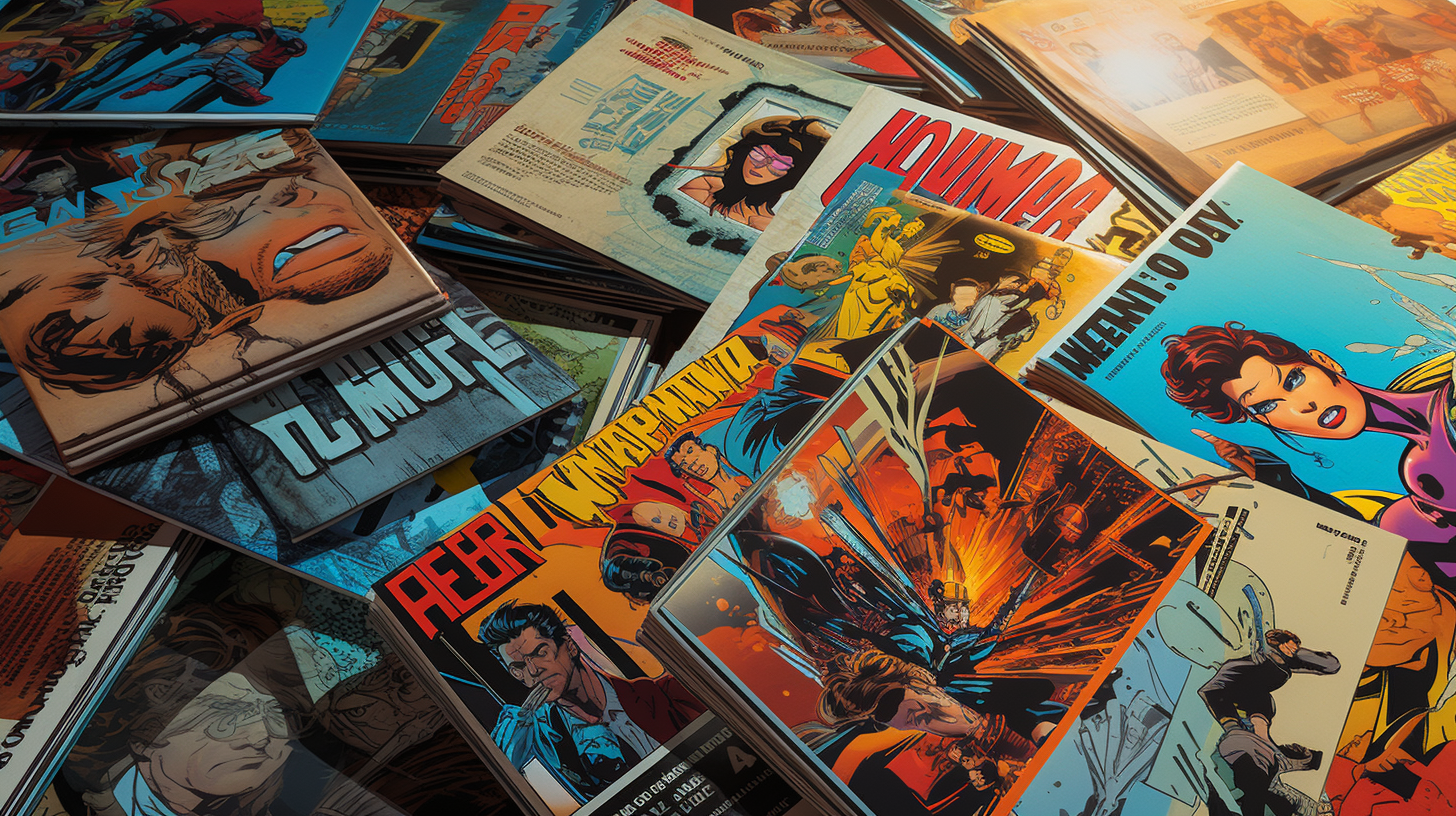
Image Source: Generated by Wujie AI
Describe the scene you envision, choose a style, and then select a layout. You can even choose to add subtitles. In response, AI will create the necessary panels to compose the entire comic page. Then, you can generate and save or print each page one by one. Here's a brief introduction to its principles.
How to Use AI to Generate Comic Book Panels and Pages
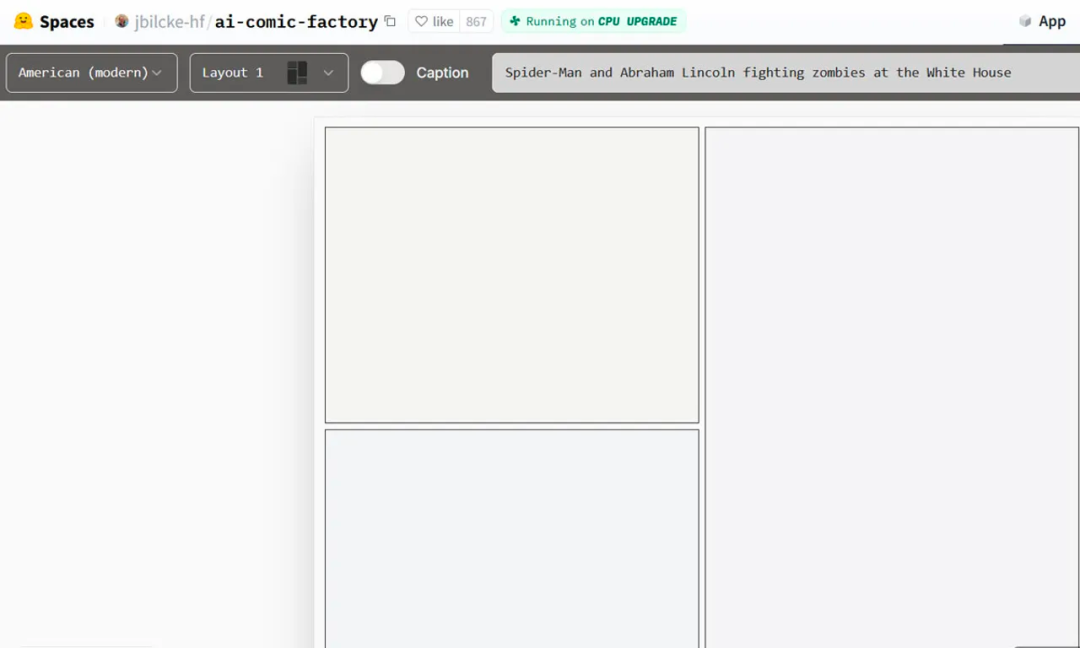
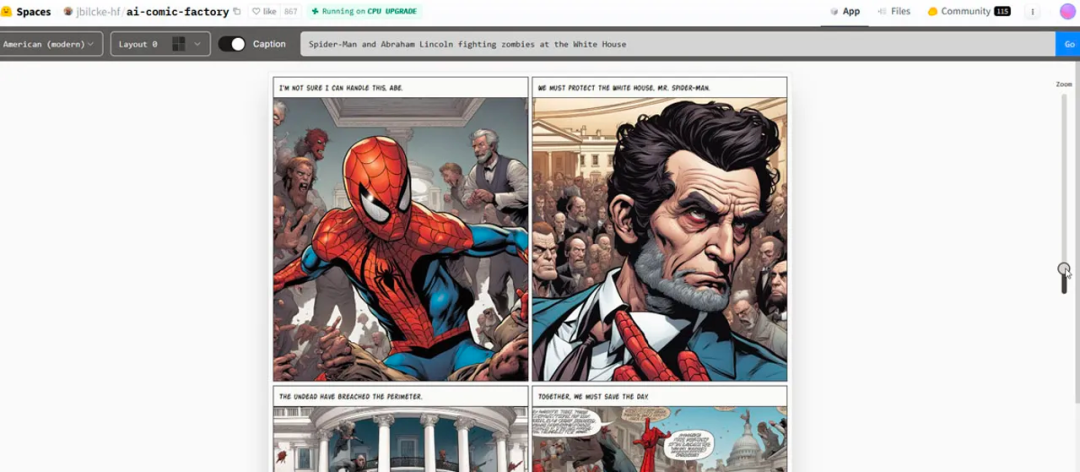
1. Input the description of the scene and story
Launch your favorite browser and go to the AI Comic Factory webpage. First, input the description of the scene and story you want to create, which is what we often call the Prompt. Think about the characters you want to appear in the story, whether they are people, animals, creatures, superheroes, or aliens. Then, come up with a scene to describe their actions, such as fighting, eating, or dancing. You can also describe the location of the scene, whether it's happening in a restaurant, on top of a building, or even in outer space.
In addition, your description may vary depending on the number of pages in the comic book. If you are only generating one page, you need to include all elements in the description. If you are planning to create a multi-page comic, describe the opening scene of the first page, and then write subsequent pages based on that.
Input the description of the scene and story
2. Choose a style
Next, choose a style. Click on the dropdown menu on the left, which uses American (modern) as the default style. You can change the style to Japanese, UFO, humanoid, 3D, medieval, Egyptian, and more. Each style has a unique look and aesthetic, so you may need to try different styles to see which one best suits your story.

Choose a style
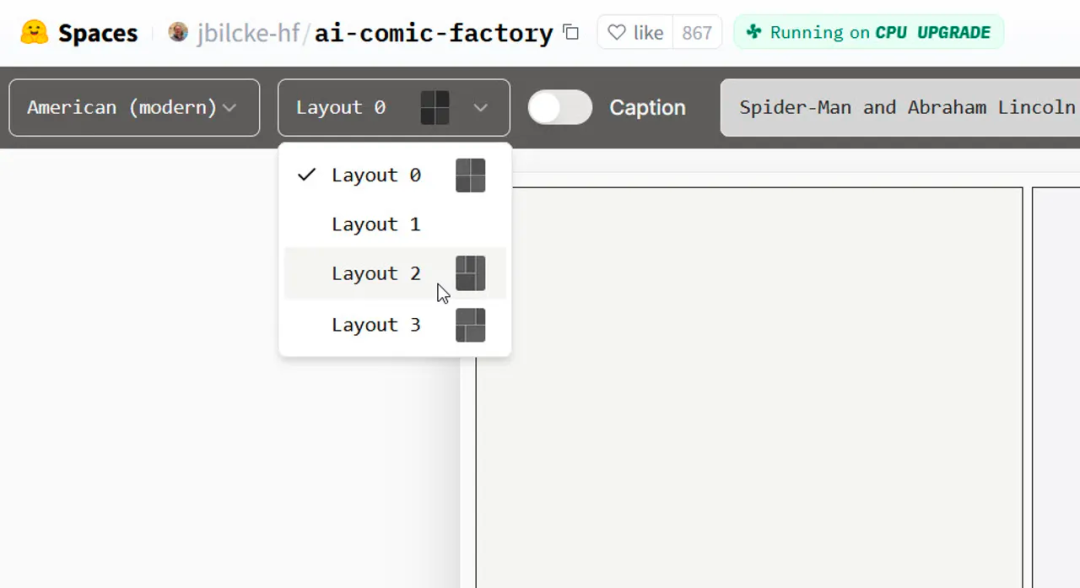
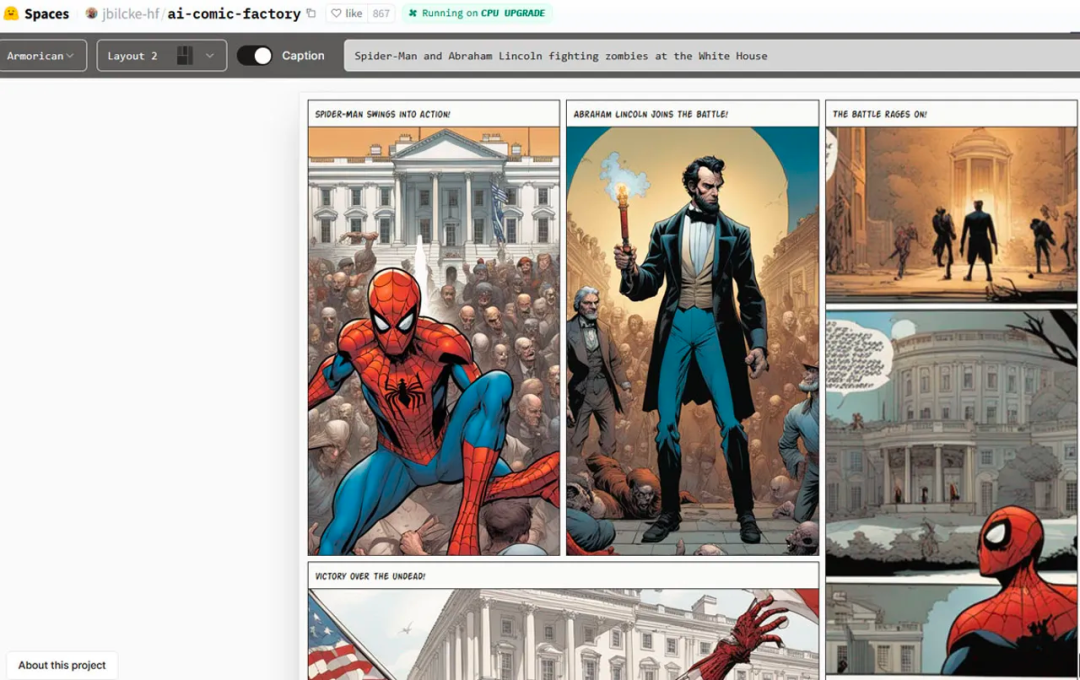
3. Choose a layout
Next, click on the dropdown menu for layout. Here, the website offers four unique layouts, each with different numbers and sizes of panels. Try each layout to see which one you like best. If you are creating multiple pages, you should also change the layout between pages.
Choose a layout
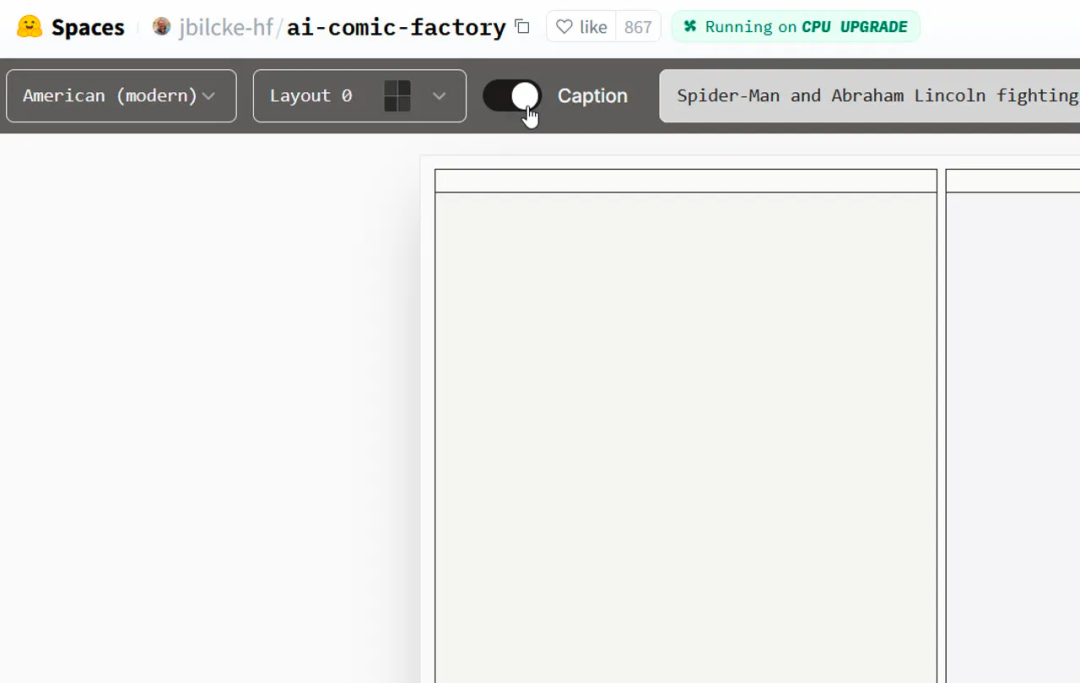
4. Choose subtitles
Next, you can choose to add titles displayed at the top of each panel. Titles are used to describe or define the scene taking place and can enhance the flow and readability of each panel.
By default, AI may also add speech bubbles in some panels, although you cannot control this. The dialogue consists of gibberish text, so it's more of a visual element to make the page look like it's from a real comic book.
Choose subtitles
5. Generate the page
Once you're ready, click the "Start" button on the far right. You may need to wait a minute or two for all panels to be displayed. You will eventually see the entire page, with all panels using the layout you selected. If you want to zoom in and out, use the slider on the right.
Generate the page
6. Change the page
If you are satisfied with the page and layout, that's great. If not, take this opportunity to change any elements, such as style or layout. If necessary, click the "Execute" button after making changes to regenerate the page.
Change the page
7. Print the page
Click the "Print" button at the bottom to preview the print page. Set any specific options for your printer, such as double-sided printing. Then, print your page.
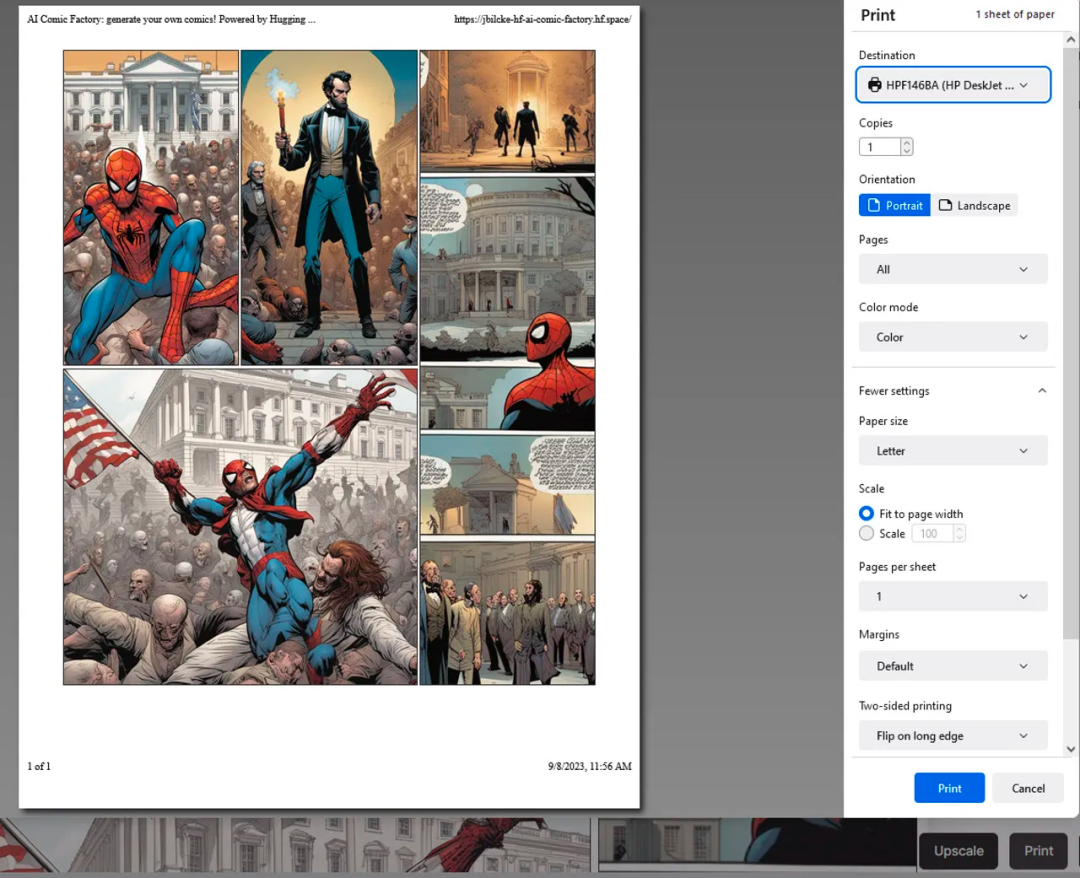
Print the page
8. Save the page
Click the "Save" button to save the page as a JPG file. If you want to modify the file, you can open it in any image editing software.
Here, if you want the characters to speak in the story background, you can also replace any gibberish text in the speech bubbles with real text.
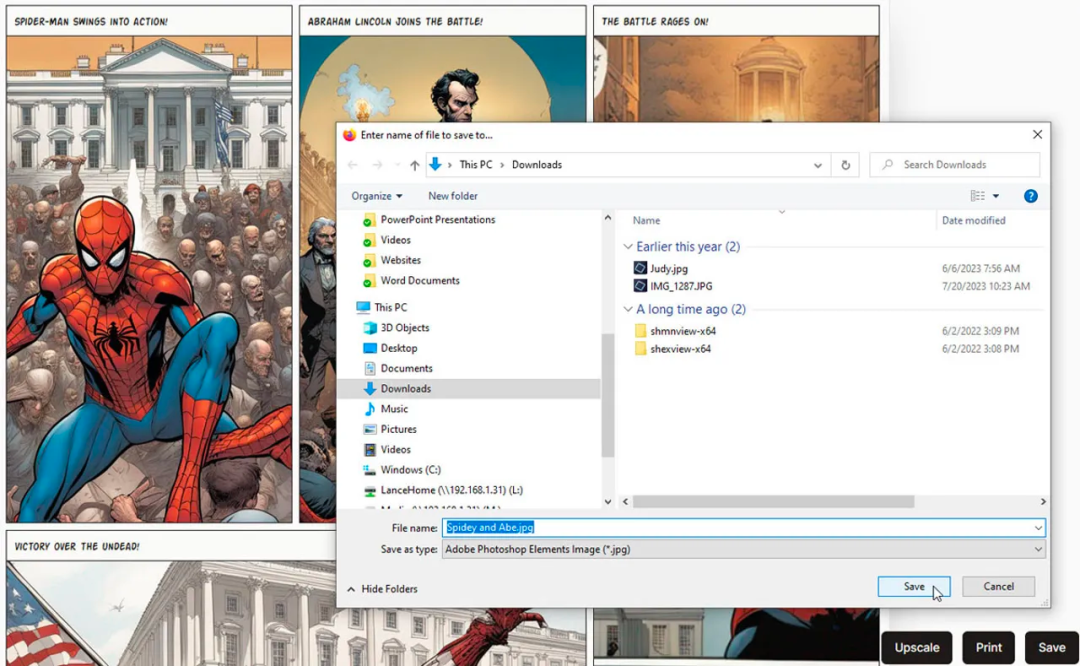
Save the page
9. Continue your comic book
If you plan to create a multi-page comic book, continue to the second page. If you wish, you can use the same characters in the description, but change the scene to advance the story. You may want to keep the style the same but switch the layout to change its appearance.

Continue your comic book
10. Create your comic book
Once finished, you can print all the pages and assemble them to make your own printed comic.
To create a digital version, save each page as a JPG file. Then, use Adobe's free online conversion tool to convert each JPG to a PDF file. Alternatively, click the "Print" button on the AI Comic Factory page, select the destination, and then choose the "Save as PDF" option. Then, you can use another free tool from Adobe to merge each individual PDF into one large file.
Create your comic book
Disclaimer: Using images generated by artificial intelligence may lead to copyright infringement, so people should be cautious when using images for commercial purposes.
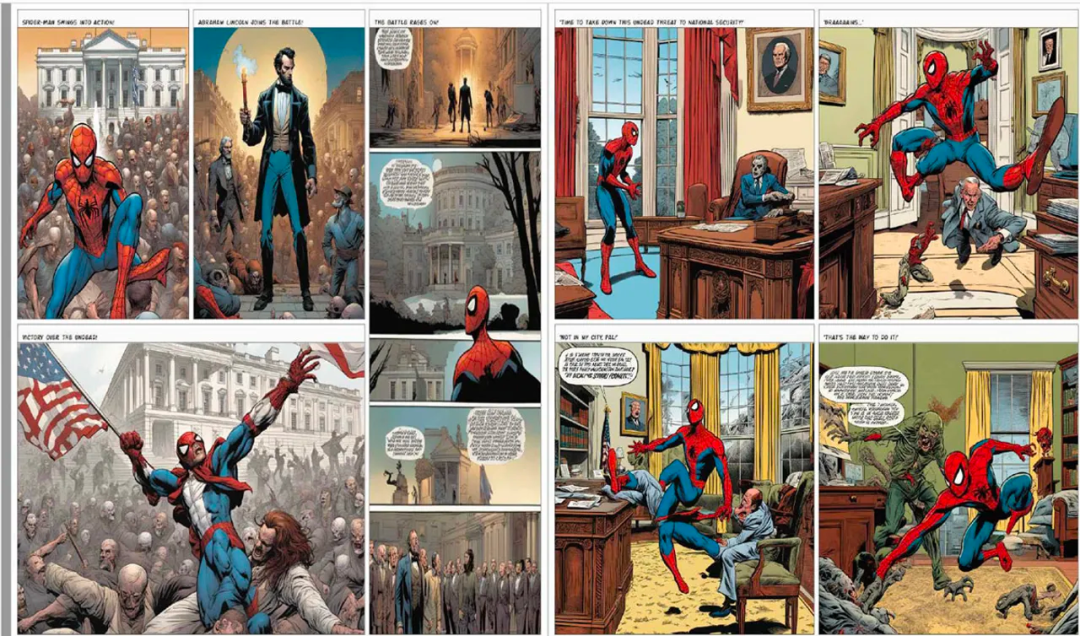
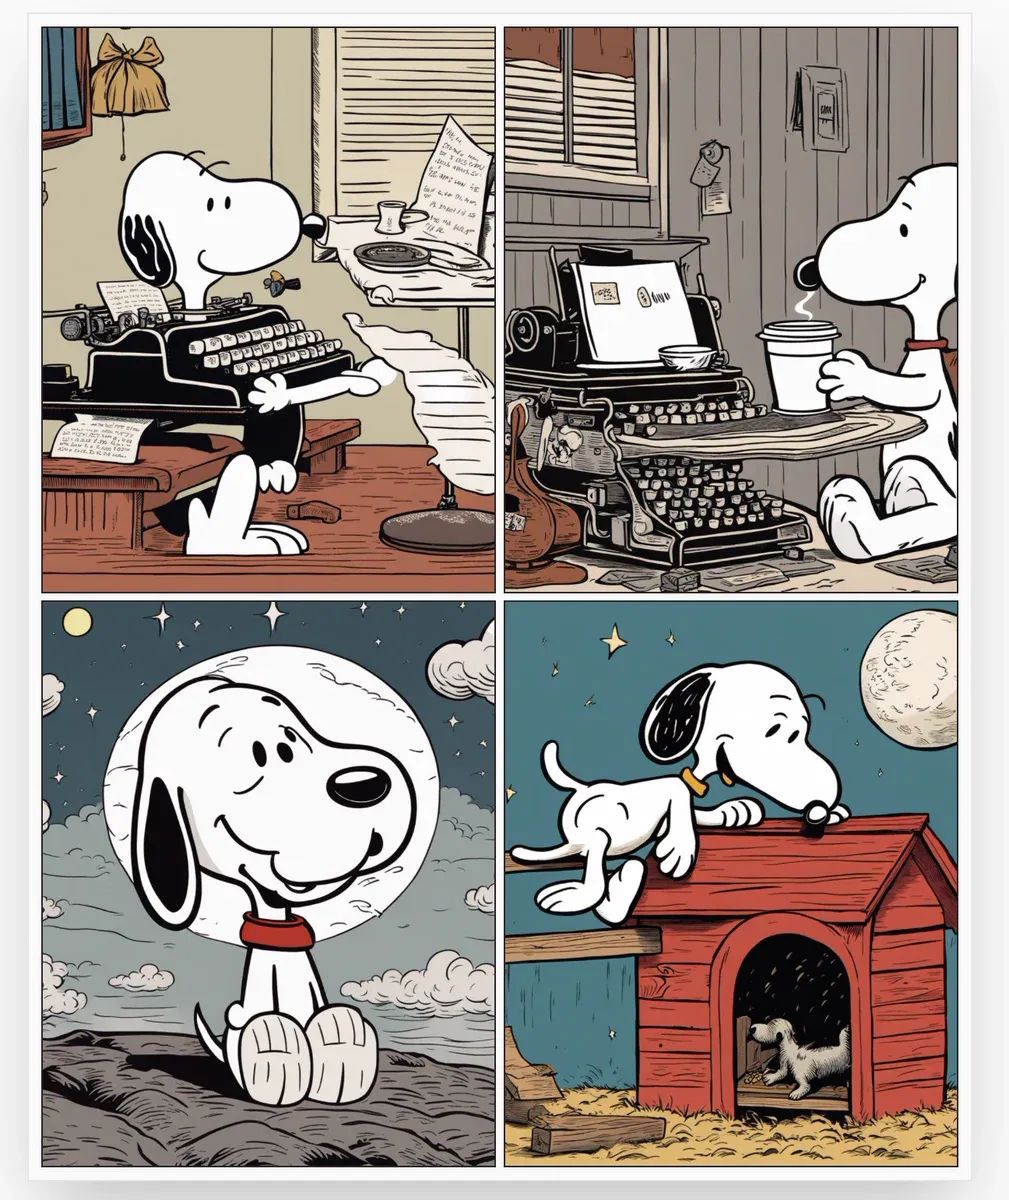
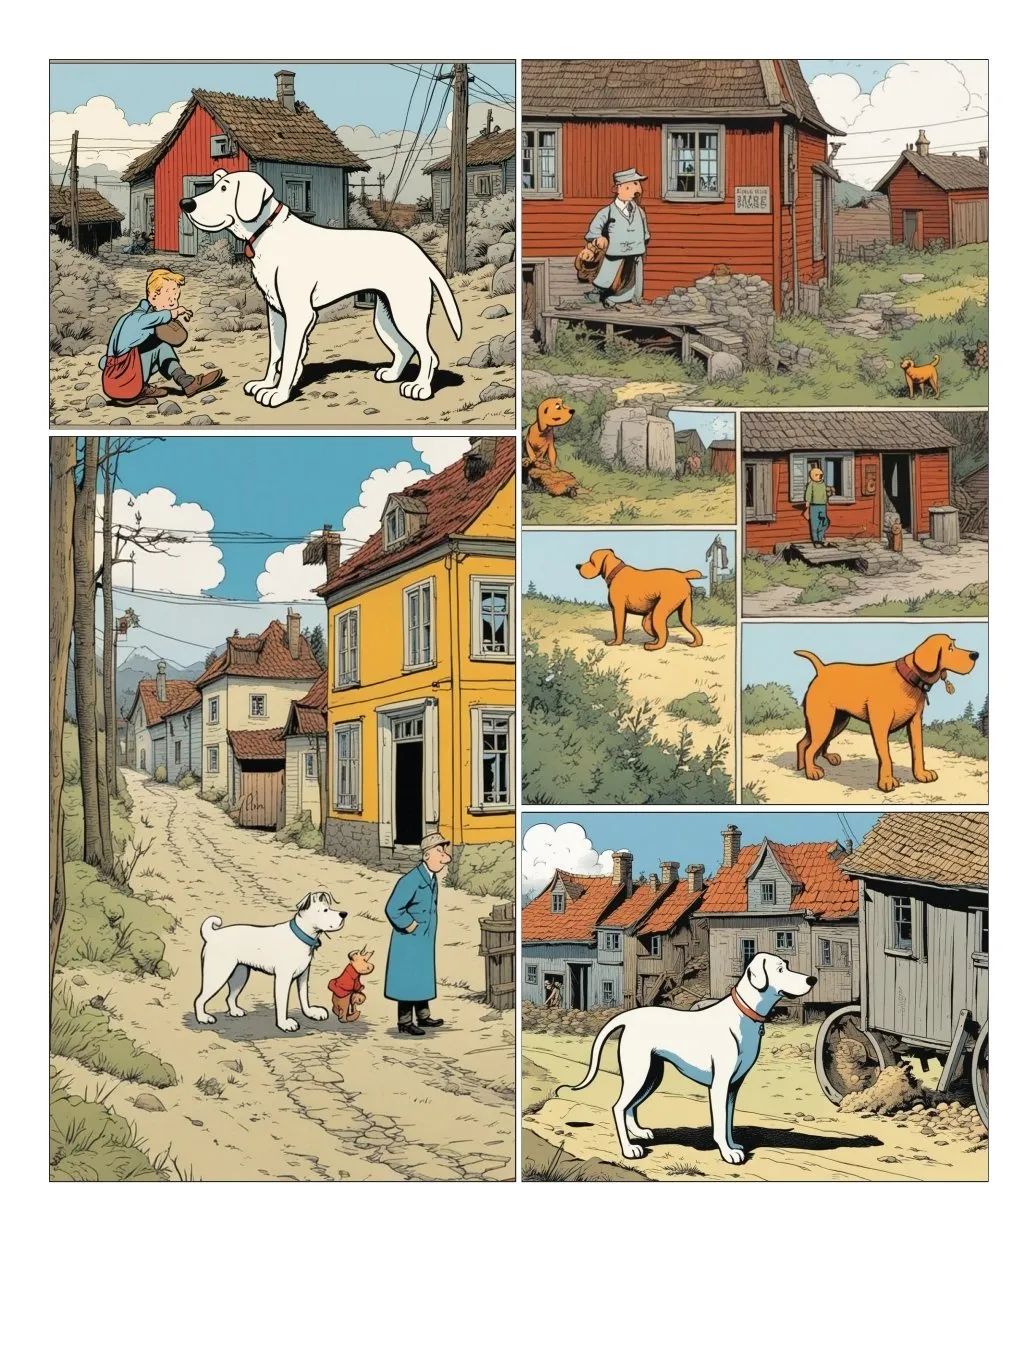
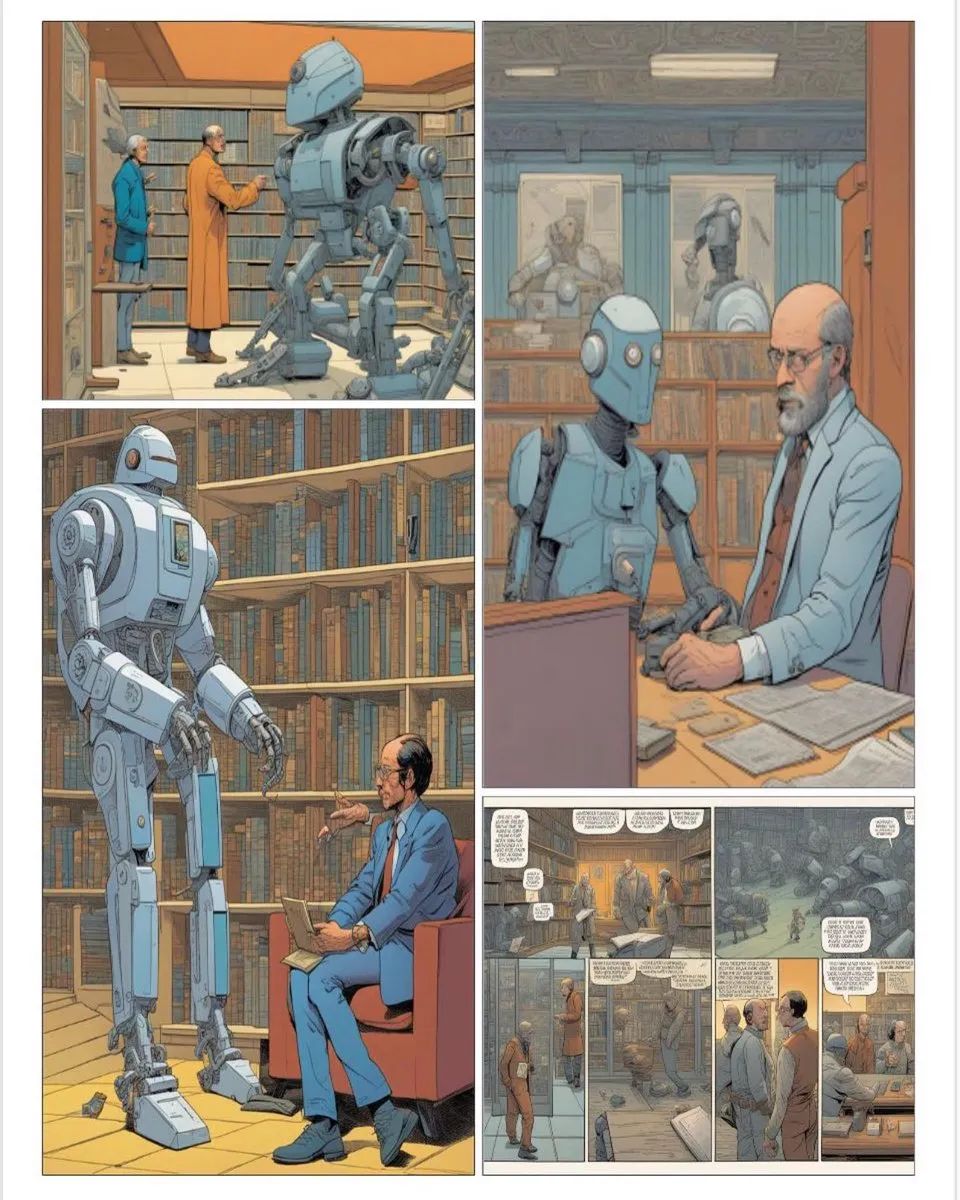
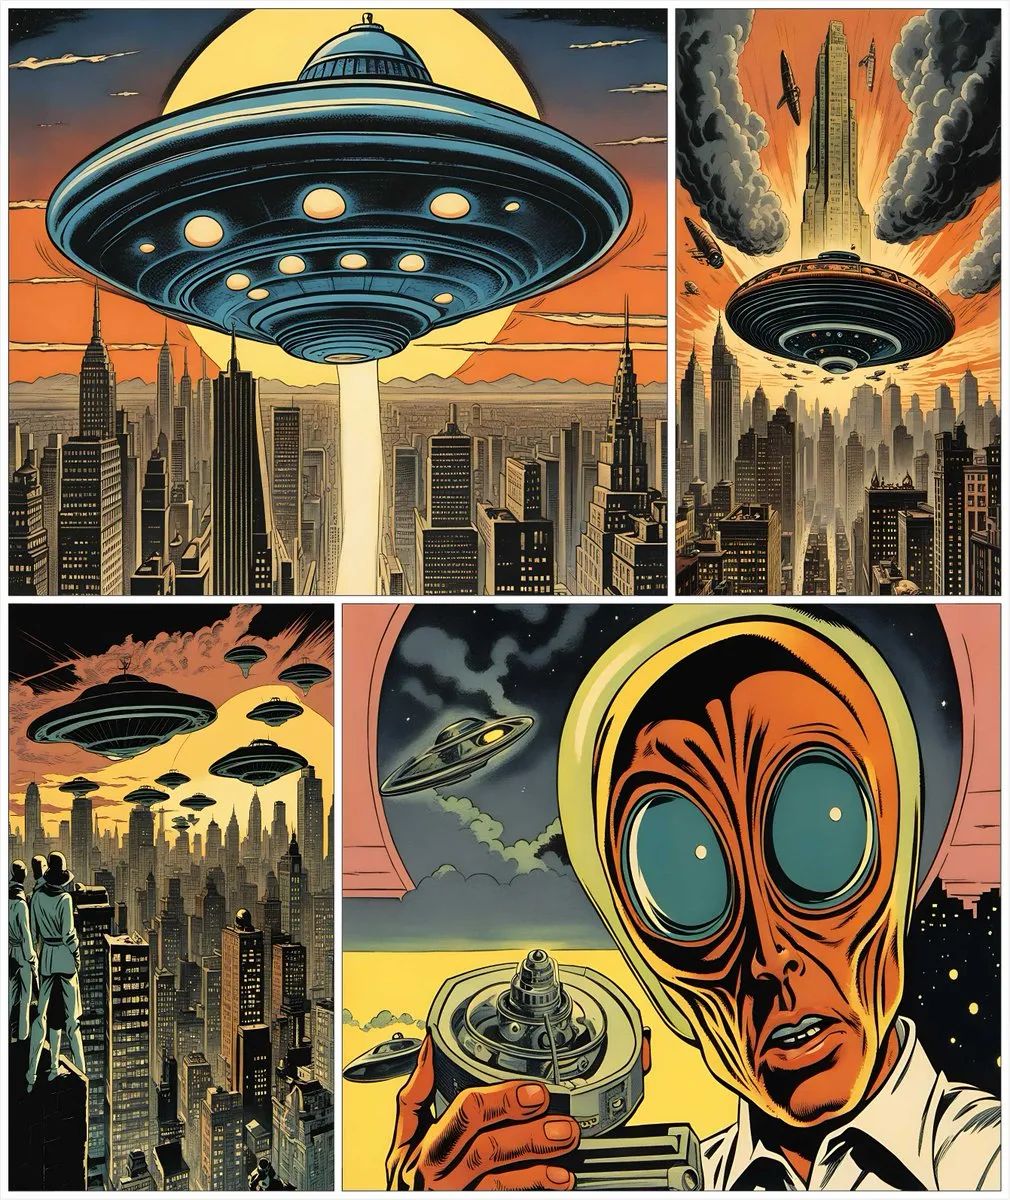
Here are some works from community users:

Reference: How to create your own comic books with AI
免责声明:本文章仅代表作者个人观点,不代表本平台的立场和观点。本文章仅供信息分享,不构成对任何人的任何投资建议。用户与作者之间的任何争议,与本平台无关。如网页中刊载的文章或图片涉及侵权,请提供相关的权利证明和身份证明发送邮件到support@aicoin.com,本平台相关工作人员将会进行核查。


